Isadora: live stream design for everyone
Isadora: the creativity server is a software that was created by Mark Coniglio, founder of Troika Ranch and Troikatronix. The Troikatronix team now spans across continents, with its main operations running out of Berlin, Germany.
Isadora is named for contemporary and modern dancer Angela Isadora Duncan (1877-1927), at one time known as “The Mother of Dance”, who was born in San Francisco but lived out the majority of her career and life in various cities in Europe and the Soviet Union. After her tragic death at age 50, her dance techniques and teachings were compiled and later taught by her adopted daughters.
The first line of code for Isadora was written by Mark Coniglio in the year 1999, and was released in 2000, meant to fill a gap in the creative technology sector, specifically created for integration with live contemporary dance work. The Troikatronix community has grown en masse across the world and through countless disciplines since then. It’s accessible and user-friendly interface has made creative technology available to so many different kinds of people in it’s time. It gave me the agency to creative my own live video work, and the freedom to work in a way that I could understand.
I would consider myself partial to Isadora because I am utterly enamoured with the community who uses it. The forum is incredibly supportive, it’s staff are incredibly wholesome and eager to teach and help, and I am so thrilled when I meet people who want to learn. So, let’s do it!
Isadora is a tool that has unlimited capacity and possibility for creation across a wide range of applications. This is my way of saying that you can do absolutely anything with it. Today, we are simply going to walk through a very basic live stream setup, so you can make your own seamless and beautiful live streamed event.
Our first step is to download the software onto your computer. Isadora is cross platform compatible, meaning that it is made for both Mac and PC. There is no Linux compatible version of Isadora.
To download the software, visit the Troikatronix website!
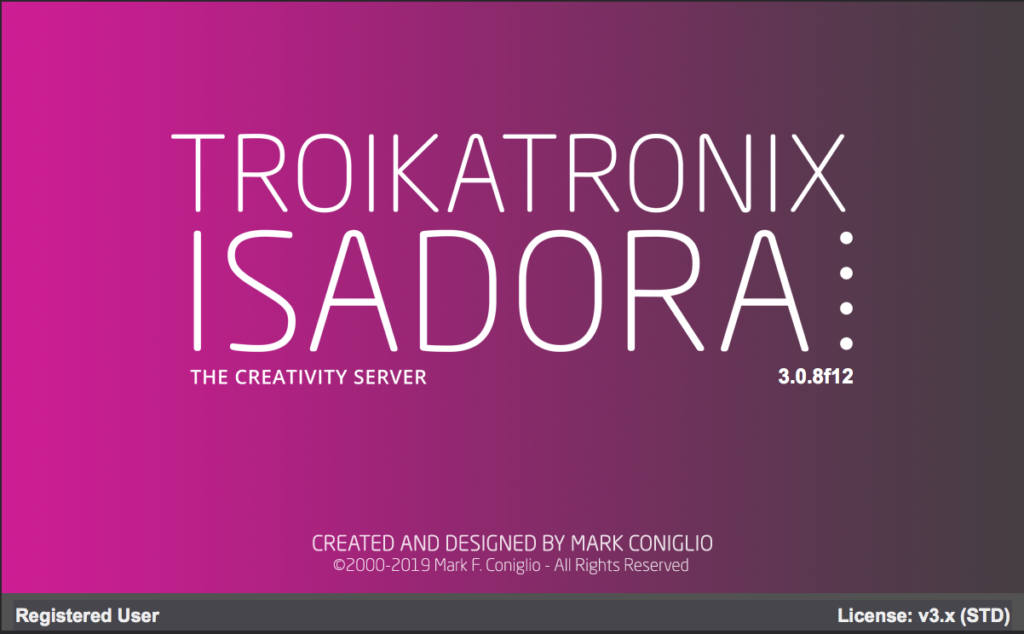
You may have Isadora downloaded on your computer already, and that’s awesome! But the first thing you’ll want to check out before using this guide is which version of the software you have!
This guide will be using images from version 3.0.8f12. This most recent update features a new sound routing feature that I encourage you to take advantage of.
I am hoping to share what I’ve learned from 5 years in using the software, specifically how I have utilised Isadora as my primary tool for creating and executing live streamed virtual events throughout 2020-2021. I am not an expert in the software, and I implore you to visit the Troikatronix YouTube Channel for resources from the very very essentials, to the most advanced and philosophical applications of the software.
But here’s what we’ll do.
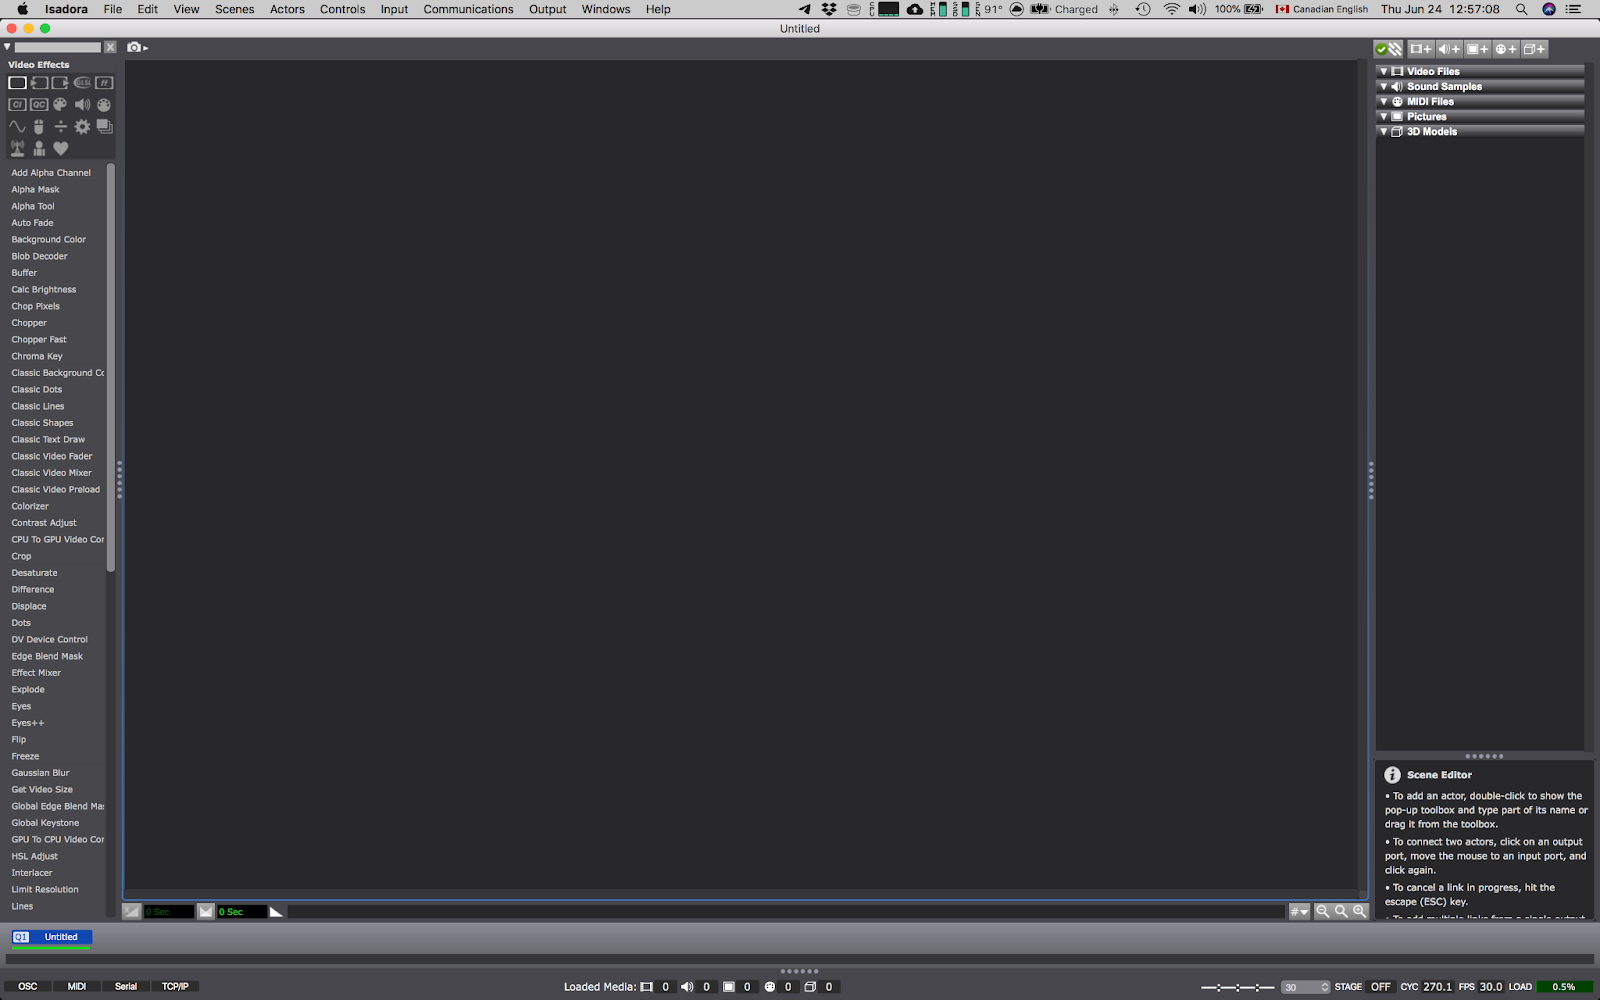
Build your first scene!
Open your freshly installed software, welcome to the Scene Editor!
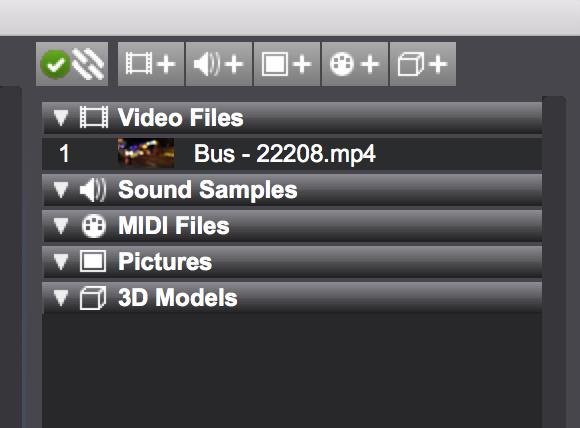
Import the media you’d like to share with the world, simply by dragging the file(s), into the media bin. It’ll help you out by sorting it into it’s appropriate spot.
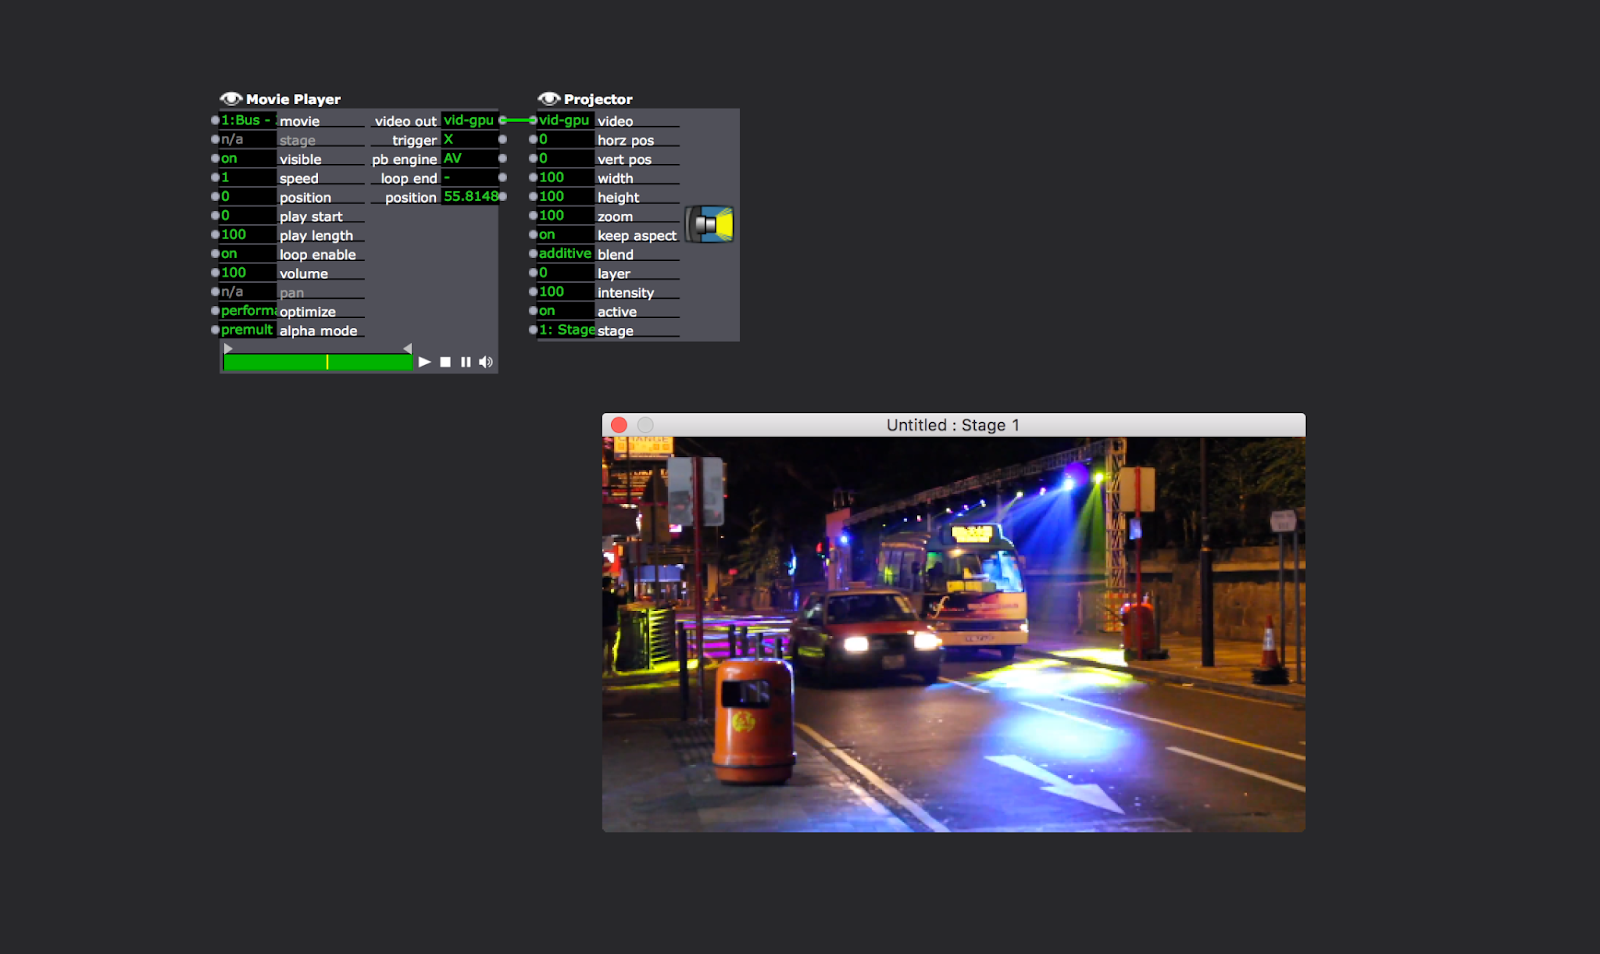
Play your media, either by dragging the media into the Scene Editor or by adding a “Movie Player” and a “Projector” Actor, you can start playing your media right away. Open your “Stage” by selecting “Output” in your toolbar and clicking “Force Stage Preview”.
To send sound to OBS, you’ll want to use the new sound routing feature in Isadora. This feature is hidden at the bottom of the Scene Editor. Find six white dots, grab and drag upwards:


The device you select is up to you. To send to OBS, I use a virtual audio routing system called Blackhole.
Introduce your work!
Let’s set up a super sleek and simple way to live capture your own video to introduce your work.
Referencing the above image, add a new scene, by rolling over your toolbar to “Scene”, and “Insert Scene”. You can also find your respective shortcut there for future reference!
This new scene will be for your introduction. You can slide it over to the “beginning” of your show by holding your mouse down and dragging it to where you want to go. Add a few more to practice!

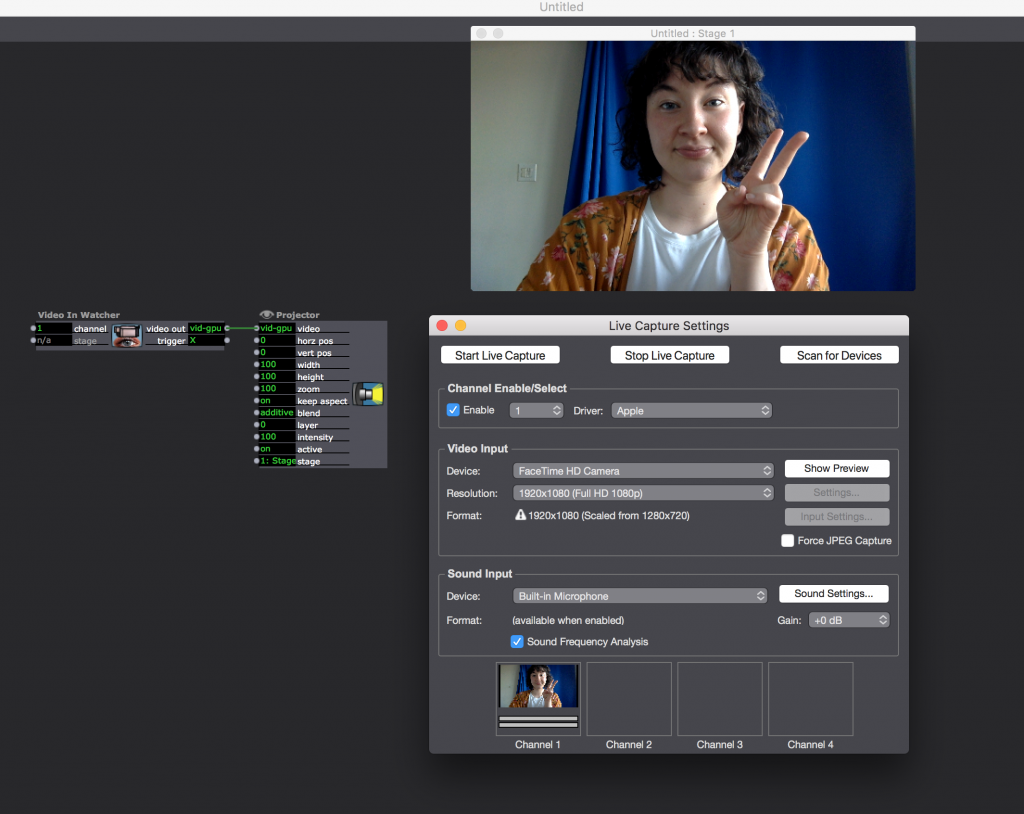
Once your patch looks like mine, start your webcam (or other device) live capture by accessing the “Input” tab on your toolbar, and selecting “Live Capture Settings”. The above window should appear, and you will be able to scan for your device, select it, and hit “Start Live Capture”. Your face should appear! I like to handle local sound directly in OBS, so we don’t need to worry about this yet!
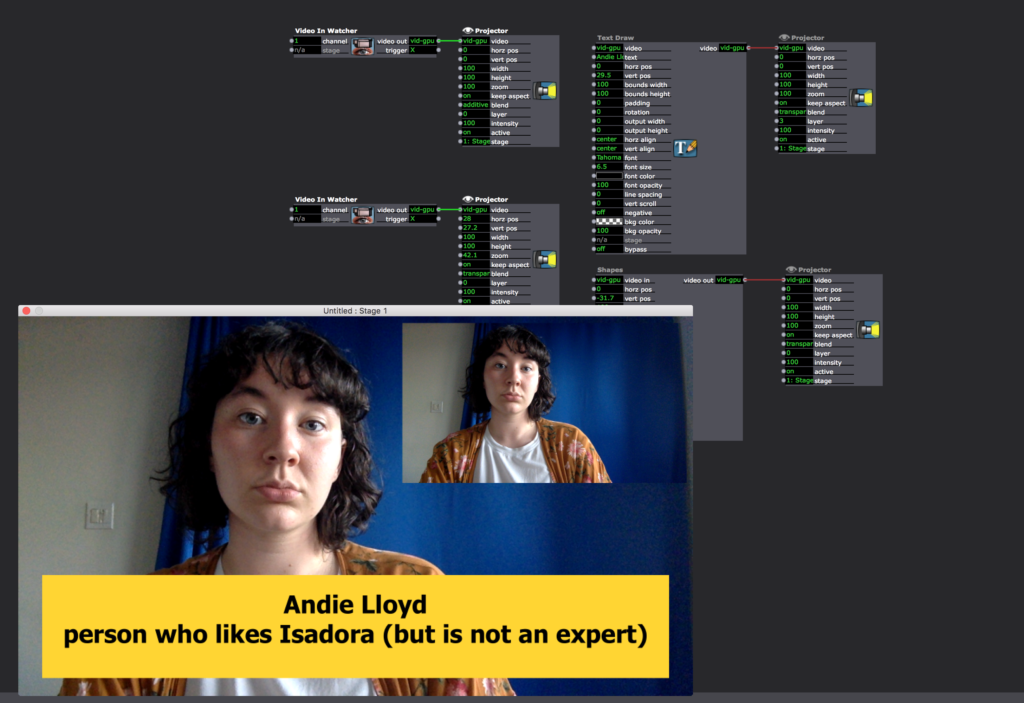
Now, you can be free to build this scene to your taste. In my example below, I have used the Text Draw and Shapes Actors to create a descriptive name card for myself. You can also see that I have added an additional input, in the event that I had an ASL interpreter with me in the space. Don’t be intimidated by the size and complexity of these actors! You only need to use the tools you want, to change the facets and things that you care to configure. Play around with these tools to get familiar with how they work, and use the undo function if something goes wrong!
Connect your collaborators!
Whichever video conferencing platform you like to use, this method will work for you. I like to use Jitsi Meet, a free and open-source platform that supports unlimited participants, screen sharing and some app integrations like YouTube. This step will require the use of a plug-in from the Isadora website. Please follow this guide on how to download a plug-in from Isadora. Once you’ve downloaded the Screen Capture plug-in, save & restart!
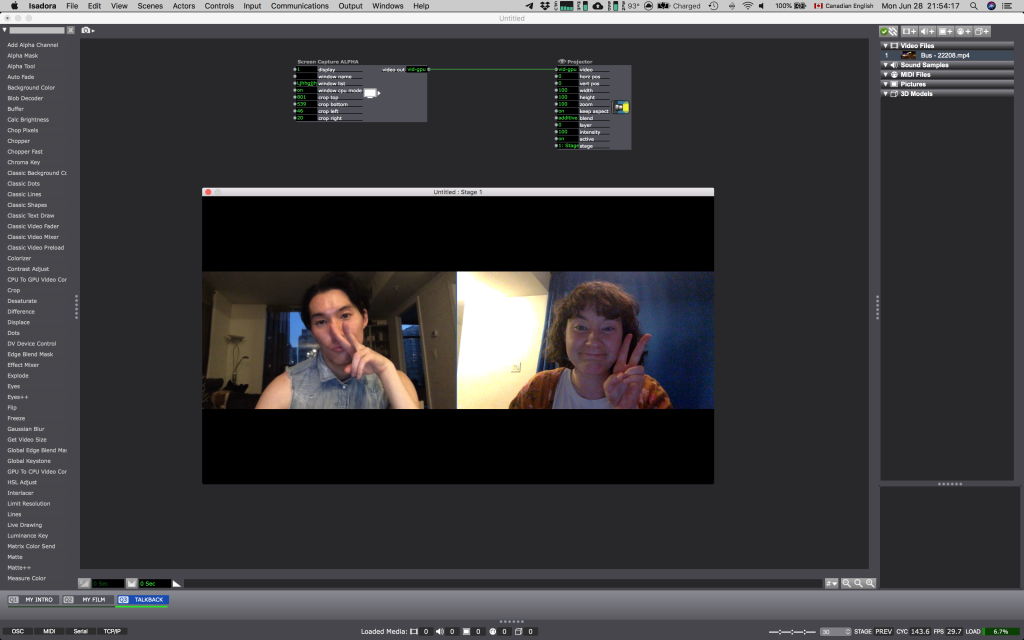
In the Screen Capture actor, you’ll find options to select your window. There are a few ways to do this, but it is super simple to select your meeting room. If you’re using only one screen, you’ll need to toggle on “window CPU mode”. This will allow your selected window to be visible at all times, even if you have something covering it on your screen. Once you’ve connected the screen capture to your conference, utilise the crop tools inside of the Screen Capture Actor. This crop allows you to easily crop and rescale your image without losing resolution. Play with it until you’re happy, and then feel free to use the Projector to move that image around. Repeat this process until you’re happy with the configuration!
Stream your event!
Now that you’ve built your event in full, it’s now time to share the work! The very last step before your streaming platform is to ensure that all of your scenes are able to send out to something called “Syphon”, or “Spout”. To do this, we simply need to add a little actor to each scene: Syphon Stage Output/Spout Stage Output.
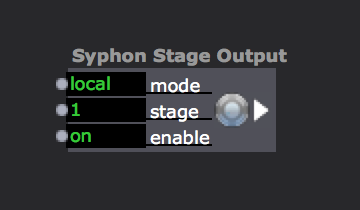
Once this is in every scene, OBS will be able to receive this signal as a “Syphon Client” or “Spout Client”. Simply add this as a video source. You’ll be able to learn about this process through one of our OBS tutorials: OBS 101 and OBS Sources.
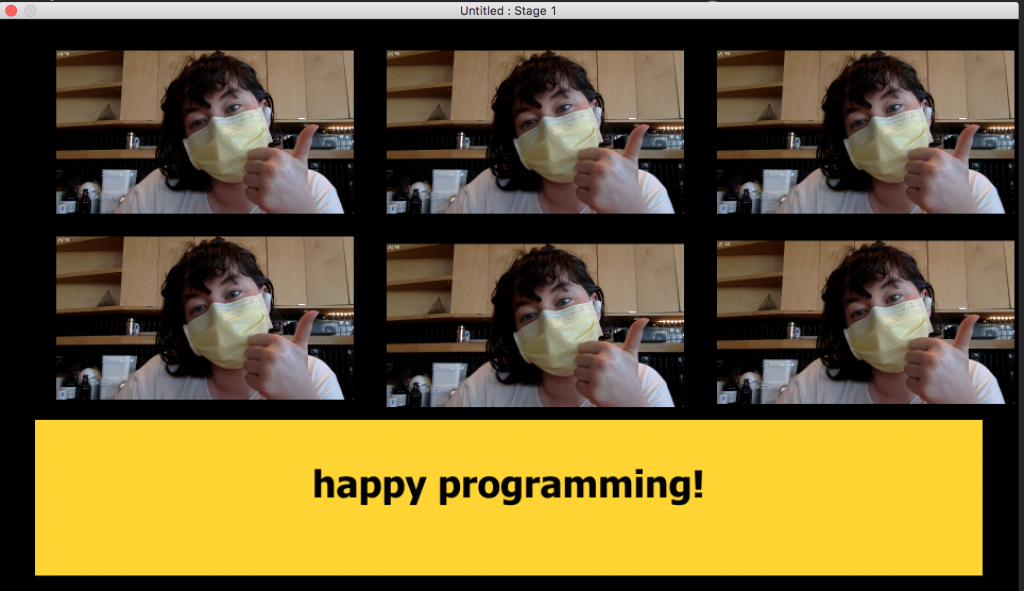
Enjoy your event and limitless design capabilities!
Read my guide to Syphon Virtual Webcam for a brief introduction on sending your Isadora creations into video conferencing software.