Syphon! Virtual! Webcam!

Welcome to another mini resource! This short tutorial is for the usage of the Troikatronix application, Syphon Virtual Webcam.
There a few ways that you can learn!
You can watch the experts do it on the Troikatronix YouTube Channel.
or
You can follow through with my screenshots and process using OSX.
or
Utilise the wealth of resources also available online!
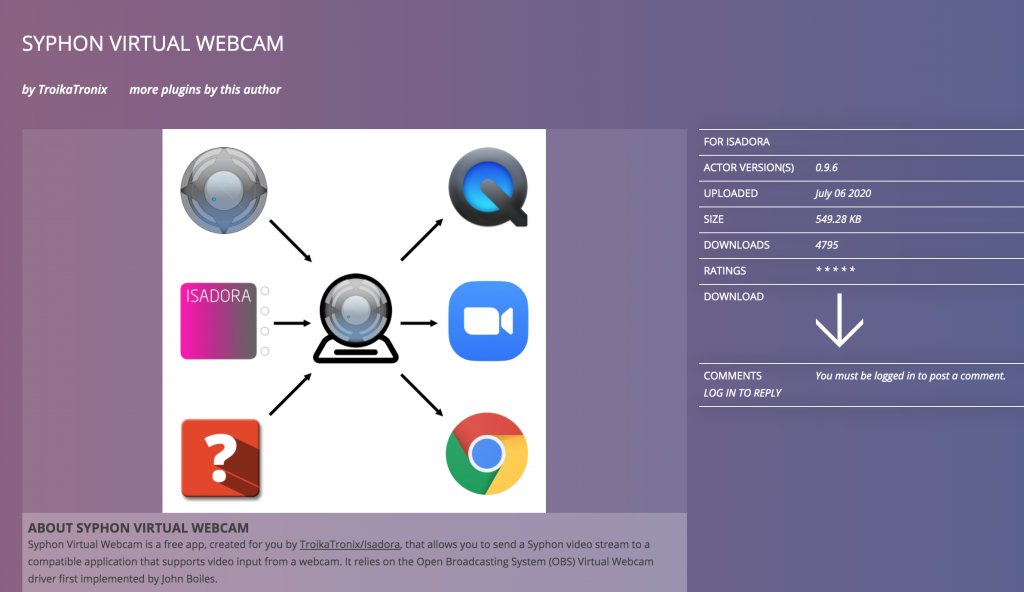
This is not an Isadora plugin, it is simply developed by Troikatronix, the organisation that builds and operates Isadora. This application is only available for Mac OS users, currently. Different versions of operating systems may also cause various changes and issues.
The simple first step, is to download the plugin from the Troikatronix website.
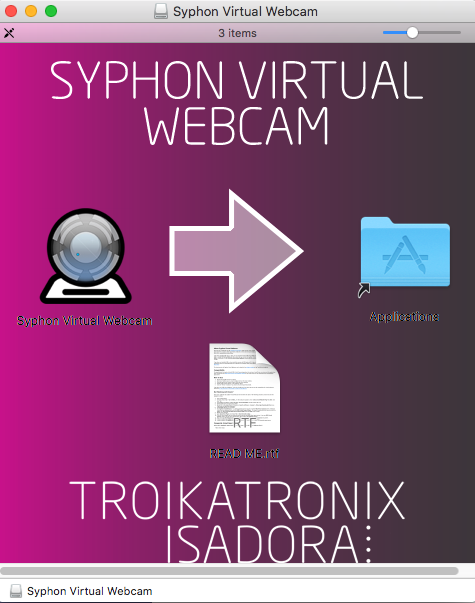
The file you will then unzip, is a .dmg file. Double click the .dmg file. Follow the prompts that are kindly provided by the installer.
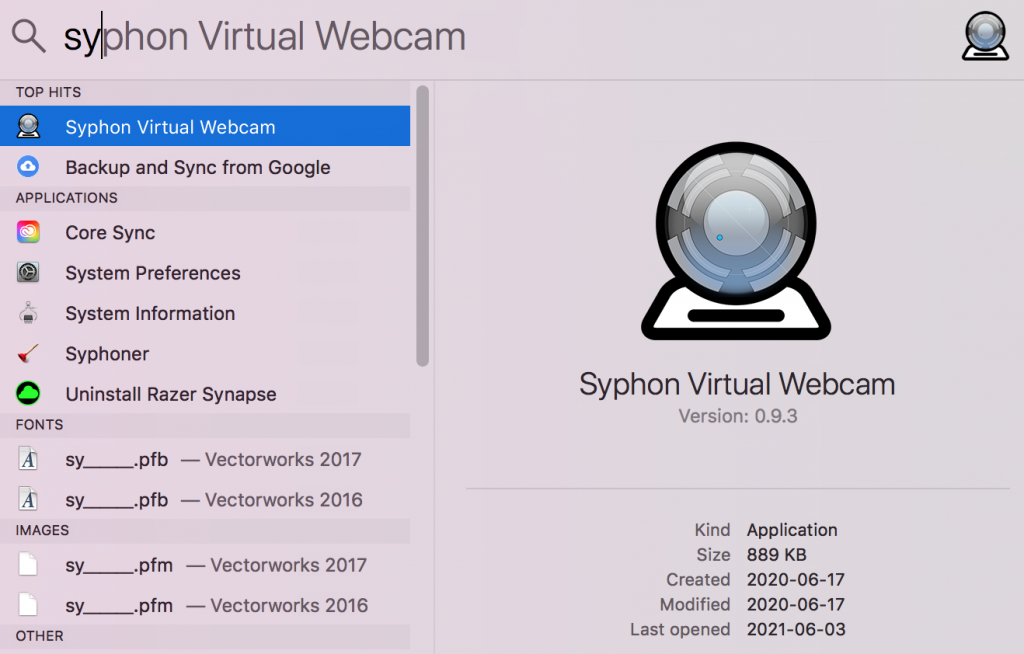
Once the installation is complete, search your applications and double click to launch!
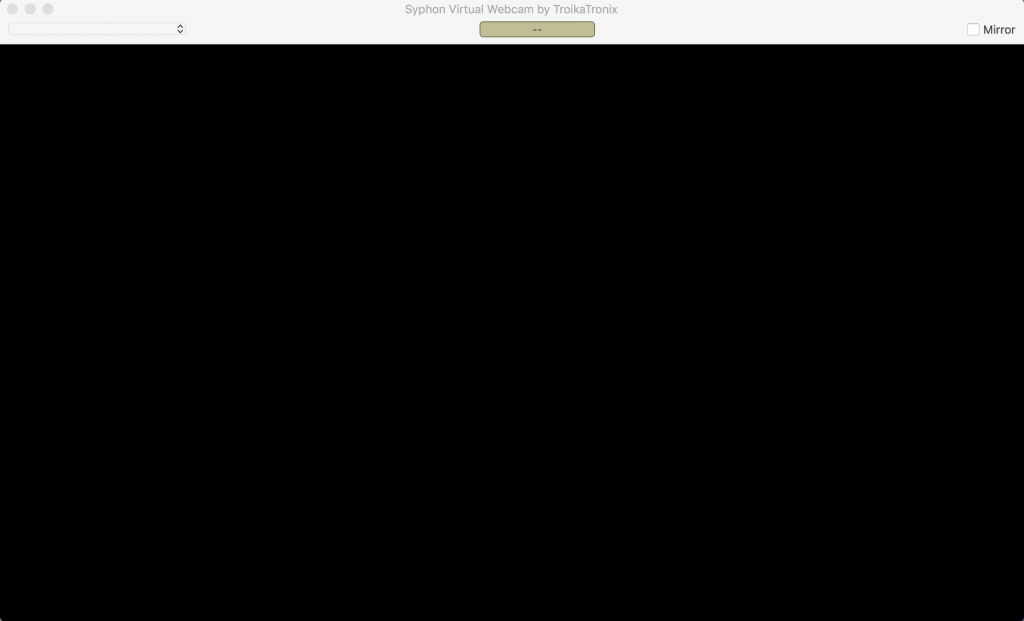
The window that will open looks like this:
Now, we need to give it something to broadcast! If you haven’t already done so, check out my tutorial for Isadora for live streaming to learn how to create some basic playback and connection templates.
As if we were about to output to OBS or another live streaming tool, we will be using a Syphon output. I am using Isadora in this example, but any app that allows for a Syphon video output should be compatible with this app.
Here is a small example patch:
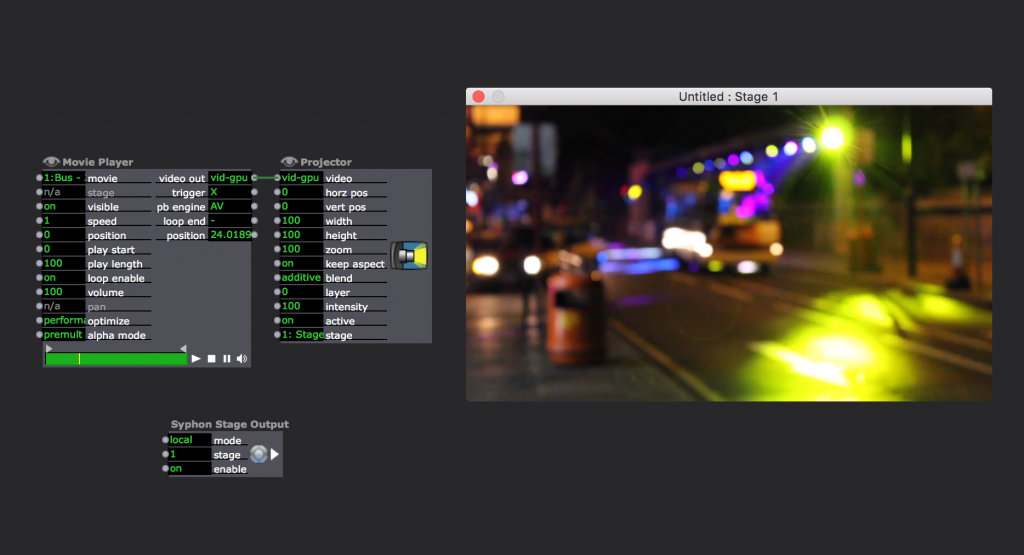
Syphon Stage Output is now taking the media that I am playing on “Stage 1” and sending it out to any Syphon compatible application that will take it. Now, if you check your Syphon Virtual Webcam window, set the source to “Stage 1 – Isadora”, or your respective output source, and a realtime, full-sized version of this video will now be on your webcam preview!

Next, we’ll need to find a place to send our media. The beautiful thing about this tool is that it allows you to choose the video you’re sending at any time to a video conferencing software, as well as just any regular webcam input!
I am now going to visit my video conferencing application of choice: Jitsi.Meet, and begin sending my own video:
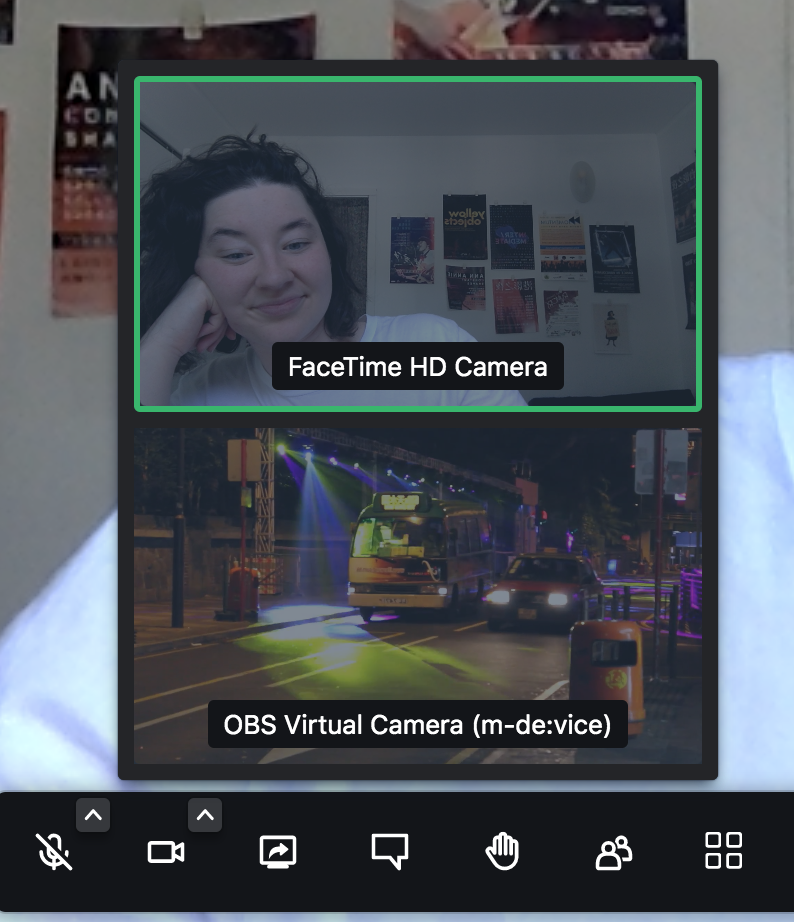
OBS Virtual Camera should appear as an option right away! If it does not, try the following steps:
- Refresh your browser
- Try a different browser (Firefox, Chrome)
- Try another video conferencing platform (Whereby, Cisco Webex, Google Meet)
- Utilise the troubleshooting and compatibility resources on the Syphon Virtual Webcam GitHub
Now that it’s working, select the OBS Virtual Camera, and enjoy your new input! If you are experiencing severe lag, try:
- Hardwiring your internet connection
- Restarting your computer
- Try a different browser
- Close some tabs
- Wait for it to work itself out (this works surprisingly well)
Now, you have the freedom to send anything you want into video conferencing room. This can help you in bypassing buggy screen sharing integrations, fake your own presence at a meeting, or provide accessibility or administrative information during an event.
Thanks always to my mentors: Sammy Chien, Milton Lim, Remy Siu, Mark Coniglio