Trello: The Online Filing Cabinet
Trello is a free platform that can function as a digital filing cabinet. It is easily organized and can be accessed by a team of users so it may help your collaborators easily find documents online.
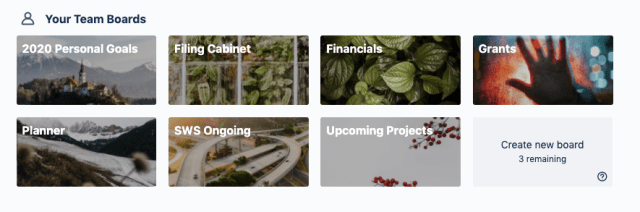
THE BASICS
Boards: are like shelves in your filing cabinet. At SWS we organize our boards by activities like “foldA”, “grants”, and “admin”. On a free account, you can have up to 10 active boards.
Lists: are like file folders in your filing cabinet. At SWS we organize our lists chronologically and name them like we would a file in a filing cabinet, like “CCA Grant: March 2020” and “foldA marketing materials”. There is no limit to the lists you can have in a board.
Cards: are like individual documents in your filing cabinet.
SET-UP
Step one: Go to Trello and input your email address.
Step two: Trello will then run you through a tutorial that invites you to get started with naming some boards, lists, and cards.
USING TRELLO
Step one: On the far right side of your board you’ll see the capacity to + ADD ANOTHER LIST. If you want to add a card in the list, you’ll see + ADD A CARD.
Step two: There are many different functions within the cards. To modify what your card is for, first select the card. Along the right side you’ll see a few options, including:
Members: this allows you to directly tag members of your workspace in this document
Labels: this allows you to colour code cards for projects.
Checklist: this allows you to input a checklist into a card. This is especially helpful when writing grants, ensuring that you have collected all of the necessary material.
Due date: this allows you to select a due date for the card.
Attachment: this allows you to attach documents to cards.
Cover: this allows you to add a cover photo to a card.
Step three: You can rearrange cards by dragging them within a list or into another list.
Step four: You can see your other boards (or add new ones) by clicking BOARDS in the top left corner.